CorgiDude บอร์ด Image Classification โดยใช้ Transfer Learning MobileNetV1

ดีครับ วันนี้ผมจะมาสอนใช้เครื่องมือที่จะทำ transfer learning MobilenetV1 โปรแกรมทั้งหมดผมไม่ได้เขียนเองนะครับ ผมแค่เห็นก่อน และใช้งานเป็นครับ ก่อนอืนเลย ผมจะมาอภิบาย transfer learning ที่ผมเข้าใจ แต่อาจจะถูกไม่ถูกไม่รู้นะครับแต่ผมอภิบายตามที่ผมเข้าใจครับ ถ้าผิดก็กราบขออภัยมา ณ ที่นี้ด้วยครับ

transfer learning คือการเอา โมเดลที่มีน้ำหนักคะแนนแล้วมาใช้ แต่เราไม่ได้ใช้ทั้งหมดนะครับ เราใช้ความเก่งของโมเดลที่สามารถแยกแยะ ได้ มากกว่าที่เราจะใช้ เช่น ผมใช้โมเดล MobilenetV1 เจ้าตัวนี้มีสามารถแยกแยะได้ 1000 อย่าง แต่ผมจะเอามา transfer learning ใหม่ใช้มันแยกแยะได้ 2 อย่างครับ คำถามคือมันต้องทำยังไงละถึงจะทำ transfer learning ได้ คำตอมคือ เราต้องไปแก้โมเดลบ่างส่วนแถวๆ สุดท้าย อะครับ แต่ข้างบนเราก็ยังใช้ของ โมเดล MobilenetV1 อยู่นัครับ

แล้วมันดีกว่าเทรนใหม่หมดยังไง - อันดับแรกมันทำให้เทรนได้ใวกว่า หลายเท่า - เทรนแล้วเก่งใวกว่า เพราะโมเดลเคยเรียนสิ่งที่อย่างกว่ามาแล้ว - ดาด้าเช็ตน้องก็ยังใช้งานได้อยู่ครับ

ส่วนตัวอย่างของผม ผมจะทำ แยกแยะได้ 2 อย่าง ครับ เป็นหมากับแมว อย่างละ 1000 รูป ครับ ลิ้งล่างนี้เลยครับ

(https://drive.google.com/file/d/1QjOapgT4E5FlG9yML4aClQ_5iNQSr-aU/view?usp=sharing)[https://drive.google.com/file/d/1QjOapgT4E5FlG9yML4aClQ_5iNQSr-aU/view?usp=sharing]

เราจะมาเริ่มกันได้เลยครับ ผมเลือกสิ่งที่ใช้งานง่ายมาให้แล้วครับ เข้าลิ่งนี้ครับ

(https://colab.research.google.com/github/AIWintermuteAI/aXeleRate/blob/master/resources/aXeleRate_standford_dog_classifier.ipynb)[https://colab.research.google.com/github/AIWintermuteAI/aXeleRate/blob/master/resources/aXeleRate_standford_dog_classifier.ipynb]

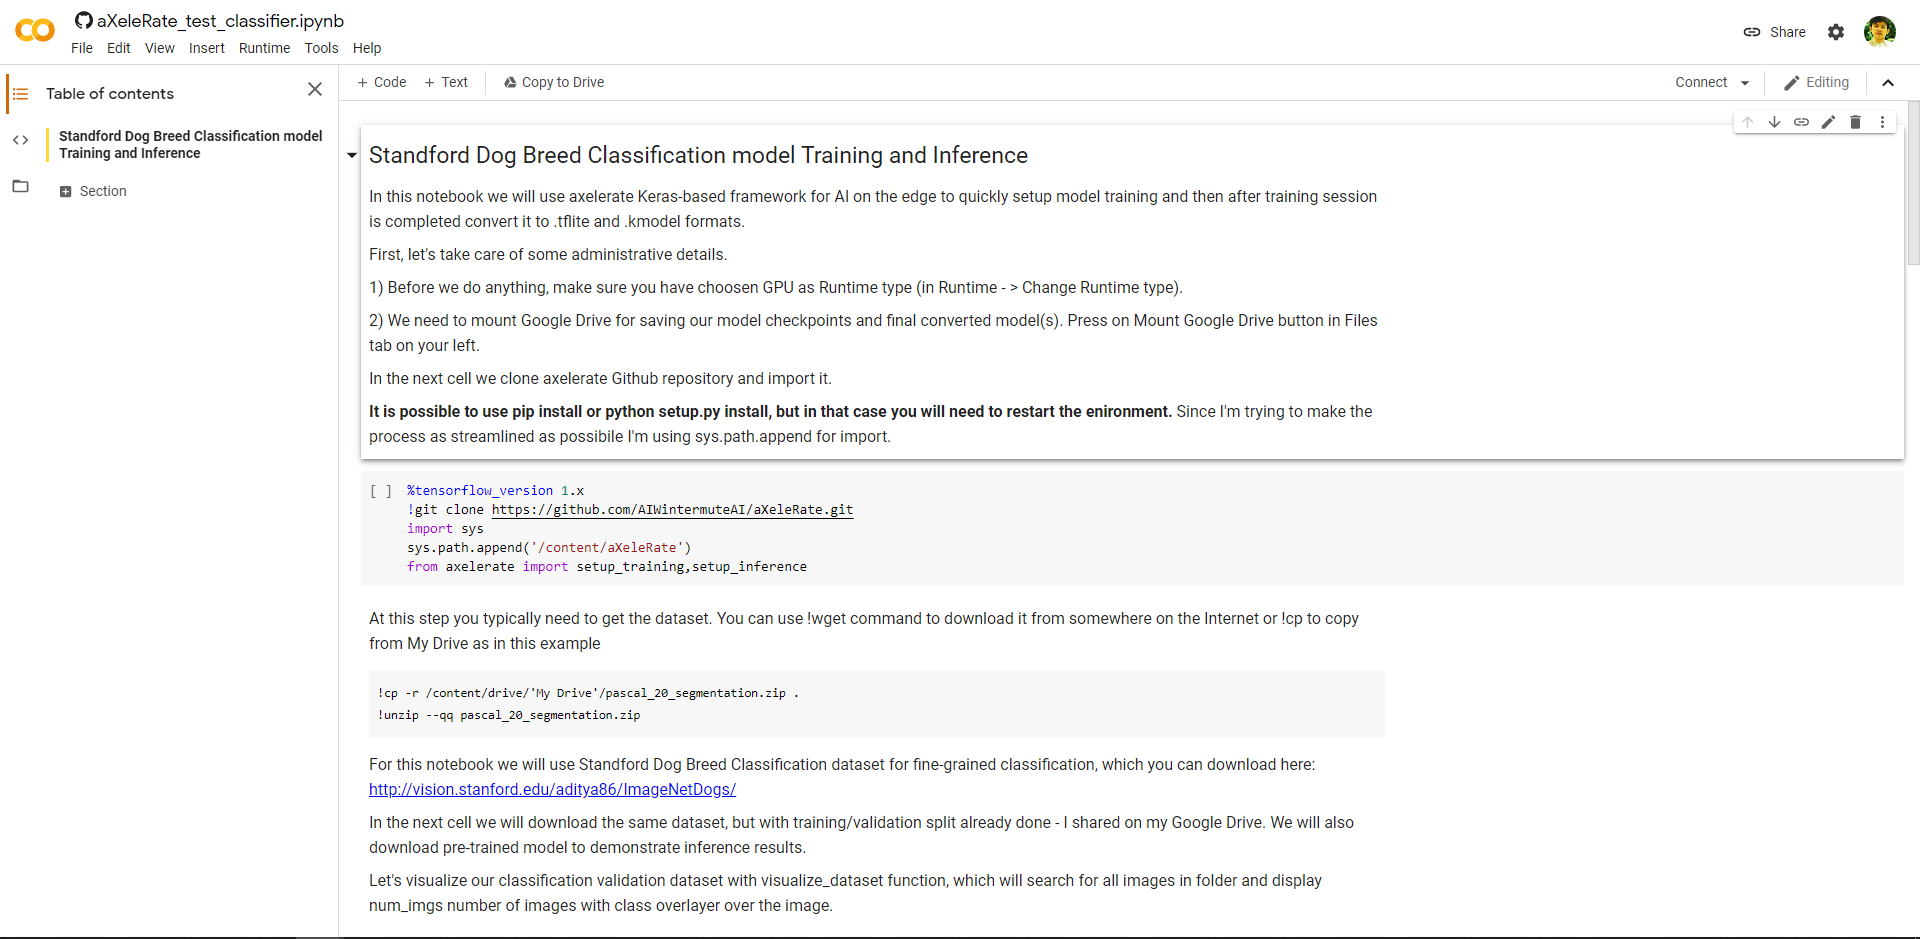
ลิ้งนี้จะพอไป colab ตามรูปครับ

หลังจากเข้ามาแล้ว กด Runtime---> Change runtime type
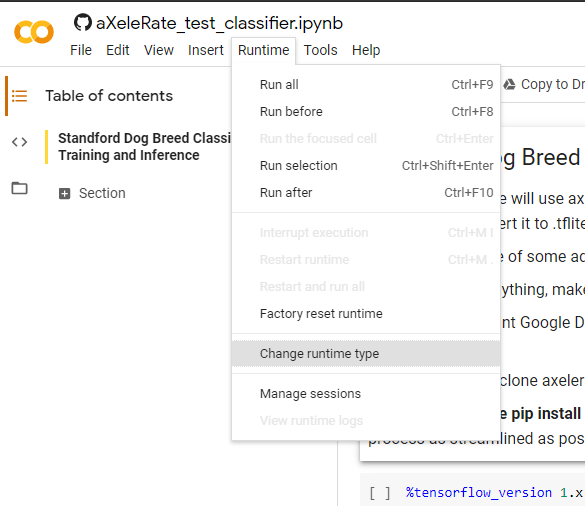
เลือกเป็น GPU ครับ
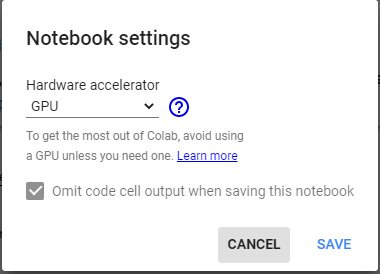
กด SAVE เลยครับ ต่อไปกด Connect
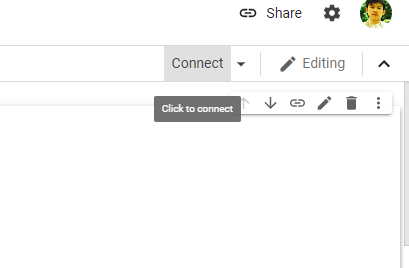
รอแปปหนึ่งครับ
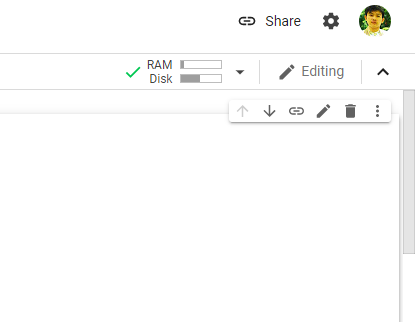
หลังจากได้แบบนี้แล้ว กด Run cell ไปเลยครับ
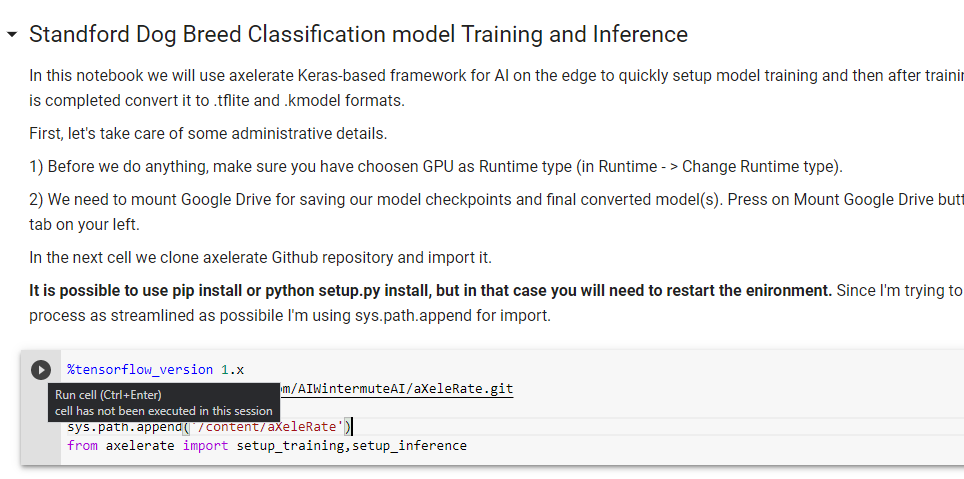
คำสั่งนี้จะ กำหนดให้ใช้ tensorflow_version 1.x และทำการ clone สิ่งที่ตเองต้องใช้มาครับ ต่อไป แก้ให้เป็นตามรูปครับ

!gdown https://drive.google.com/uc?id=1QjOapgT4E5FlG9yML4aClQ_5iNQSr-aU #dog breed classification dataset !unzip --qq /content/datasets.zip from axelerate.networks.classifier.data_gen import visualize_dataset visualize_dataset('datasets', 10)

แล้วกดรันเลยครับ ต่อไปแก้ config ตามนี้ครับ ตัวนี้พิมเอานะครับอันนี้ครับ
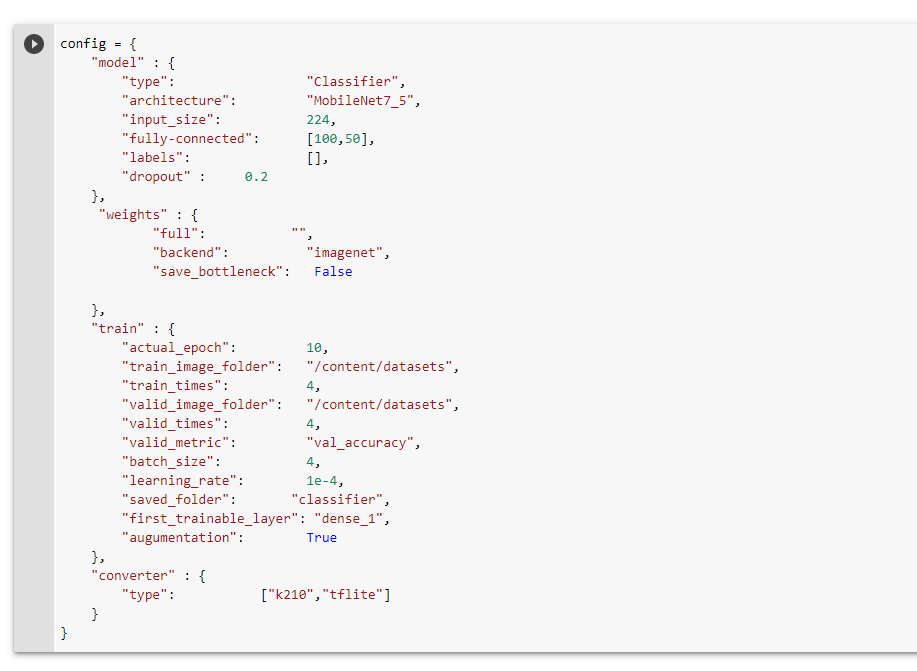
{
    "model" : {
        "type":                 "Classifier",
        "architecture":         "MobileNet7_5",
        "input_size":           224,
        "fully-connected":      [100,50],
        "labels":               [],
        "dropout" :         0.2
    },
     "weights" : {
            "full":                   "",
            "backend":               "imagenet",
            "save_bottleneck":      false

    },
    "train" : {
        "actual_epoch":         10,
        "train_image_folder":   "/content/datasets",
        "train_times":          4,
        "valid_image_folder":   "/content/datasets",
        "valid_times":          4,
        "valid_metric":         "val_accuracy",
        "batch_size":           32,
        "learning_rate":        1e-4,
        "saved_folder":           "classifier",
        "first_trainable_layer": "dense_1",
        "augumentation":                True
    },
    "converter" : {
        "type":                   ["k210","tflite"]
    }
}

หลังจากแก้เสร็จเราก็จะมาเริ่มเทรนกันเลยนะครับ

กดรันตามรูปเลยครับ ผลก็จะได้ประมาณนี้ครับ
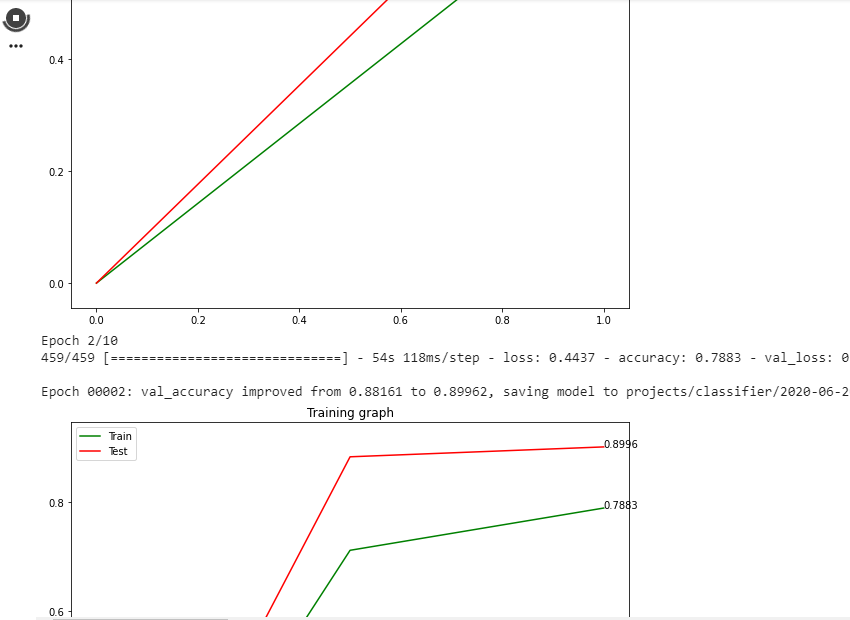
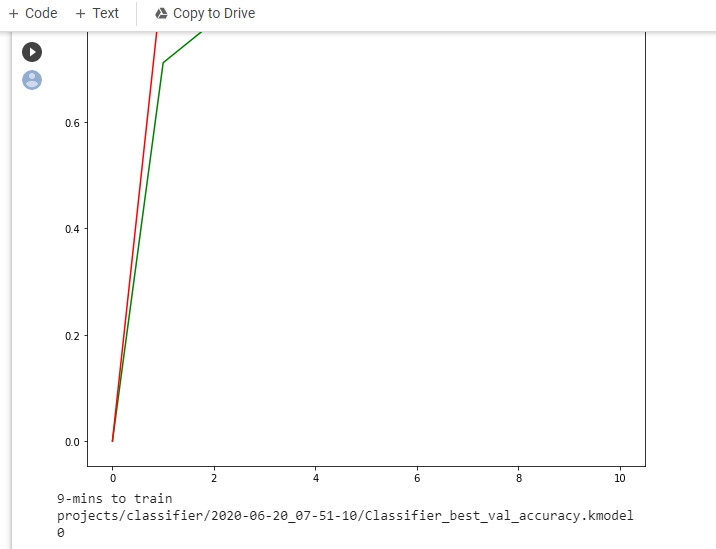
รอจนกว่าจะเสร็จครับ เพราะทำเยอะ ทั้งเทรนและแปลงเป็น kmodel ให้ด้วยครับ ถ้าเสร็จแล้วจะเป็นแบบนี้ครับ
หลังจากที่เสร็จ ไฟล์ kmodel จะอยู่ตามรูปครับโหลดไปใช้งานได้เลยครับ
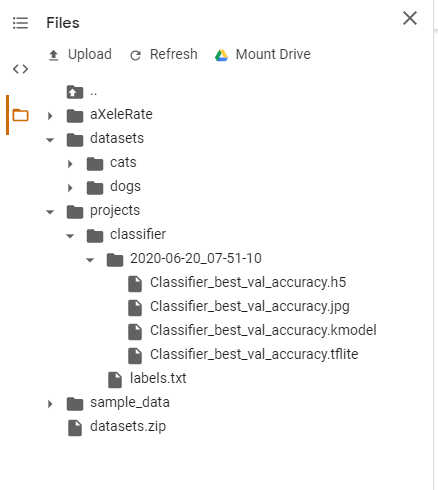
หลังจากโหลดมาแล้ว เอาไป Flash ไปที่ตำแหน่ง 0x200000 เลยครับ

วิธีการ Flash บทความนี้ครับ (https://www.aiiotshop.com/b/5)[https://www.aiiotshop.com/b/5]

โปรแกรมรันตามนี้เลยครับหลังจาก Flash เสร็จครับ

import sensor, image, lcd, time 
import KPU as kpu 

sensor.reset() 
sensor.set_pixformat(sensor.RGB565) 
sensor.set_framesize(sensor.QVGA) 
sensor.set_windowing((224, 224)) 
sensor.set_vflip(1) 

lcd.init(type=2, freq=20000000, color=lcd.BLACK) 
lcd.rotation(2) 

labels=['cats','dogs'] #number of labels should match the number of labels the model was trained with 
task = kpu.load(0x200000) #change to "/sd/name_of_the_model_file.kmodel" if loading from SD card 
kpu.set_outputs(task, 0, 1, 1, 2) #the actual shape needs to match the last layer shape of your model 

while(True): 
    kpu.memtest() 
    img = sensor.snapshot() #img = img.rotation_corr(z_rotation=90.0) uncomment if need rotation correction - only present in full maixpy firmware #a = img.pix_to_ai() 
    fmap = kpu.forward(task, img) 
    plist=fmap[:] 
    pmax=max(plist) 
    max_index=plist.index(pmax) 
    a = img.draw_string(0,0, str(labels[max_index].strip()), color=(255,0,0), scale=2) 
    a = img.draw_string(0,20, str(pmax), color=(255,0,0), scale=2) 
    print((pmax, labels[max_index].strip())) 
    a = lcd.display(img) 
    a = kpu.deinit(task)

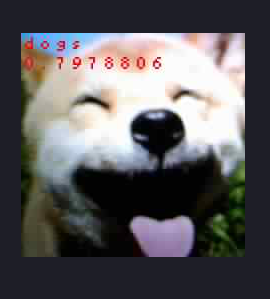
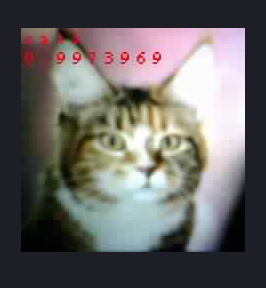
ผลจากการทดลอง ตามรูปเลยครับ

Last updated